The long awaited post is finally here! Hopefully it meets all of your expectations. If I forgot something, or didn’t answer your undying question, leave a comment and I’ll do my very best to respond!
Our attic space above our garage had been left unfinished since we built our home almost 12 years ago. We originally tossed around the idea for it to be a game room for the kids, or maybe even a media room, but it ended up being our storage room. Every time I went upstairs to “store” something I always thought to myself – we are wasting this cool space up here.
I was looking on Pinterest one day and I saw the most amazing bathroom and noticed it had a roof line similar to ours. I showed Sean and said, “what if we turn the attic into a master suite?” And that was all it took. The decision was made and we went for it…and had to then figure out what to do with all our “storage” 😉
 The first thing we did in the space was put in two skylights and I think they are one of my most favorite parts of the whole space. We went with Velux skylights that you can open and I think this summer we’ll come to really appreciate that. They let in so much natural light and with the low ceilings, they really help open up the space.
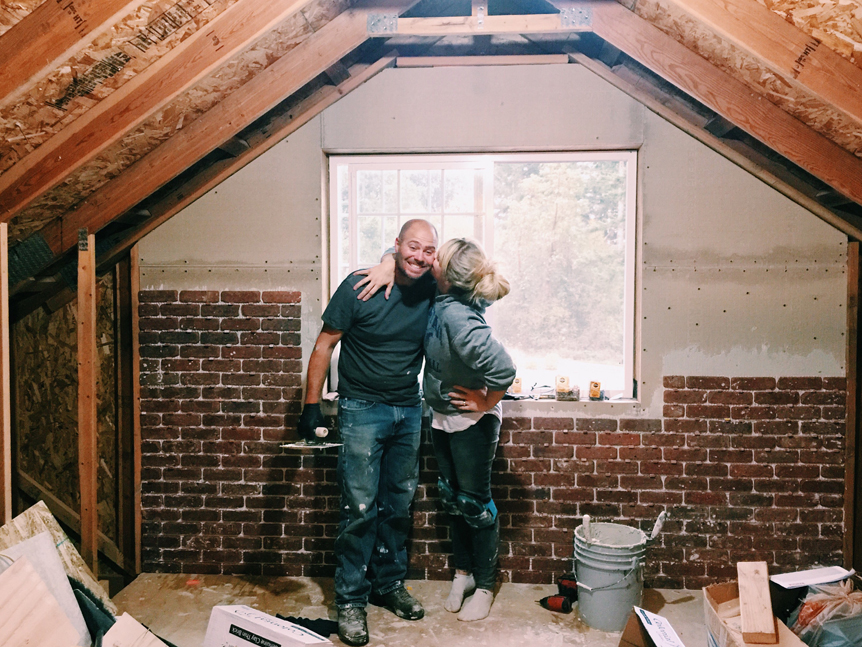 Our next step was the brick wall. I got the idea for a brick wall because I thought it would help make the space cozy and add some cool texture. Sean’s a big fan of my ideas 😉 I started my search and found real clay, thin bricks at Lowes. Once we got the plywood and hardy-backer up it was time to lay the bricks. It’s pretty much like tiling, you lay them with thin-set and then after they are all laid you apply the mortar. I originally planned on painting them white, but they are still their natural color. I told Sean to not be surprised if he comes home one day and sees painted bricks. Paint happens.
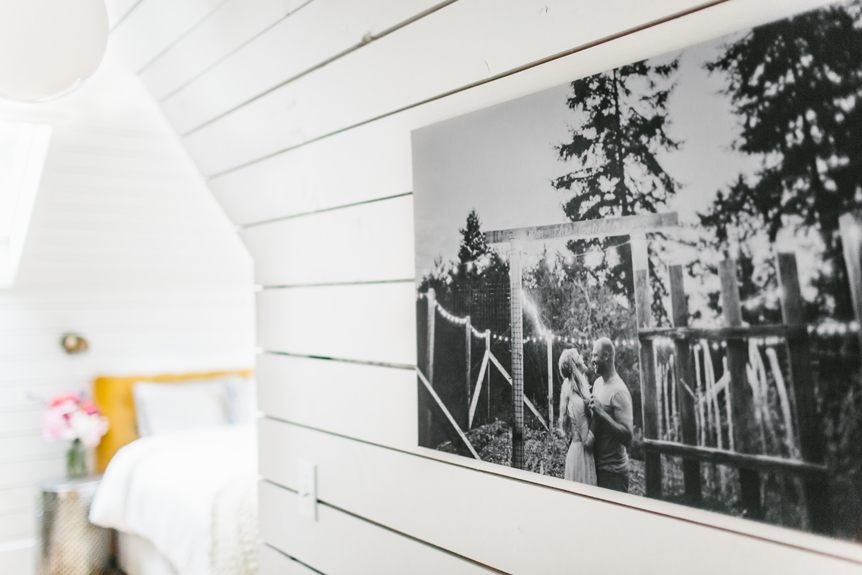
 It was a good day when all the framing, insulating, brick wall and the other million and one things were finished because that meant Sean could finally start in on the shiplap. We went with 6″ utility grade fir for the walls. We saved a ton of money going that route vs buying finished grade. I love how they turned out. I think the only thing I would have done differently would be to let the wood dry longer. Our nickel gaps became quarter gaps real quick (aka the wood shrunk quite a bit after it was up so we really didn’t need to use nickels as spacers at all). ha! I still love it. I prefer the rustic, imperfect look. It adds character. Our attic has so much character 😉 I had the awesome opportunity to partner up with Behr Paint for our space. I went with their Kilz water based primer and their Ultra Pure White paint in their Marquee finish. I brushed the paint on in the bathroom and used the sprayer for the rest of the space. I definitely prefer the sprayer when painting wood.
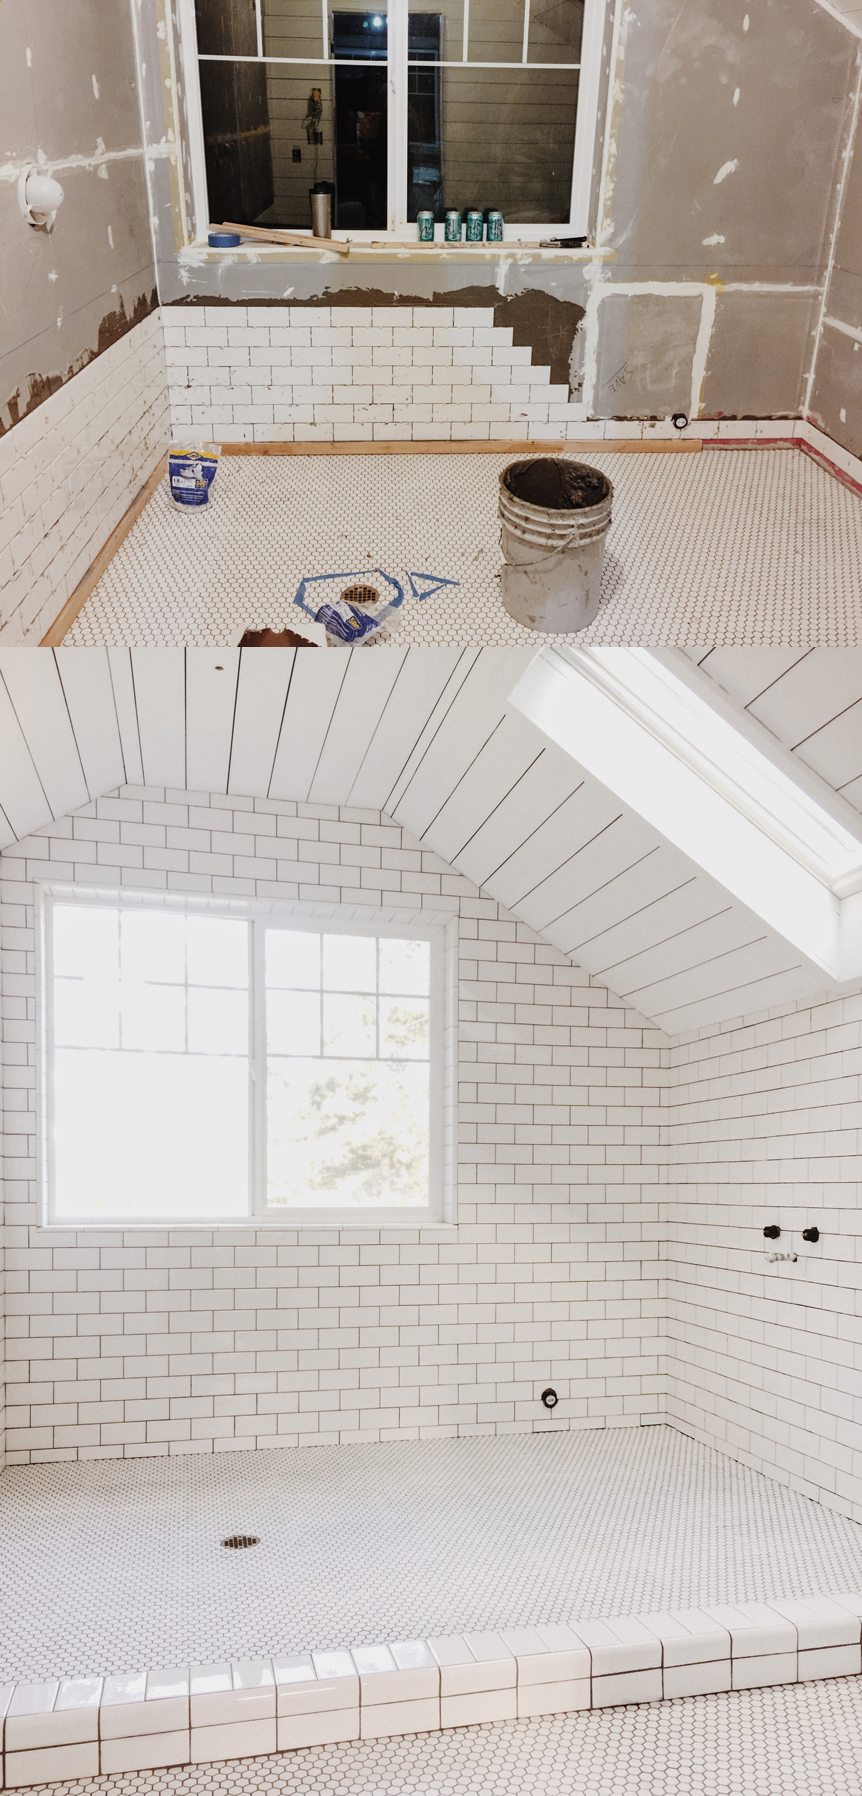 Next up was tiling. Holy moly, that was a beast of a job. There were so many steps to prepping the bathroom for tile – from the hardy-backer on the floor and den-shield on the walls, to building the shower pan and waterproofing everything, and then installing the in-floor heat….then finally we got to tile. We bought our 1″ hexagon tile from Amazon and the subway tiles and grout we got at Home Depot. We went with Fusion grout in Pewter. We are super happy with it. When we first started putting it on I got scared because it was taking forever to wipe clean, but we figured out that shop towels were the way to go and it was so much easier than sponges. I had to clean out the bucket a million times with the sponge. So if you’re in the process of grouting tile, I recommend the blue shop towels!
 Once the walls were done, it was time to do the floors. We used the 6″ utility grade fir for the floors, too. We debated over this for awhile, on which was the best route to take. We considered pine, but in the end we decided saving money wins. We nailed them down and then rented a sander and they turned out awesome. It took me a long time to decide on a stain. I think I bought a sample of every color from our local hardware store. I ended up on Minwax Weathered Oak. It’s great and I think it’ll age well.
The first thing I bought for the space was the headboard from Anthropologie. It kind of set the tone for how I wanted the whole room to look. I knew from the beginning I wanted a few things – the headboard, shiplap, a green dome light and a barn style door. Pinterest was my friend when I was designing the room. When we originally built our house, I was cutting photos out of magazines and pasting them to paper. If only I had known I was “pinning” things back then 😉
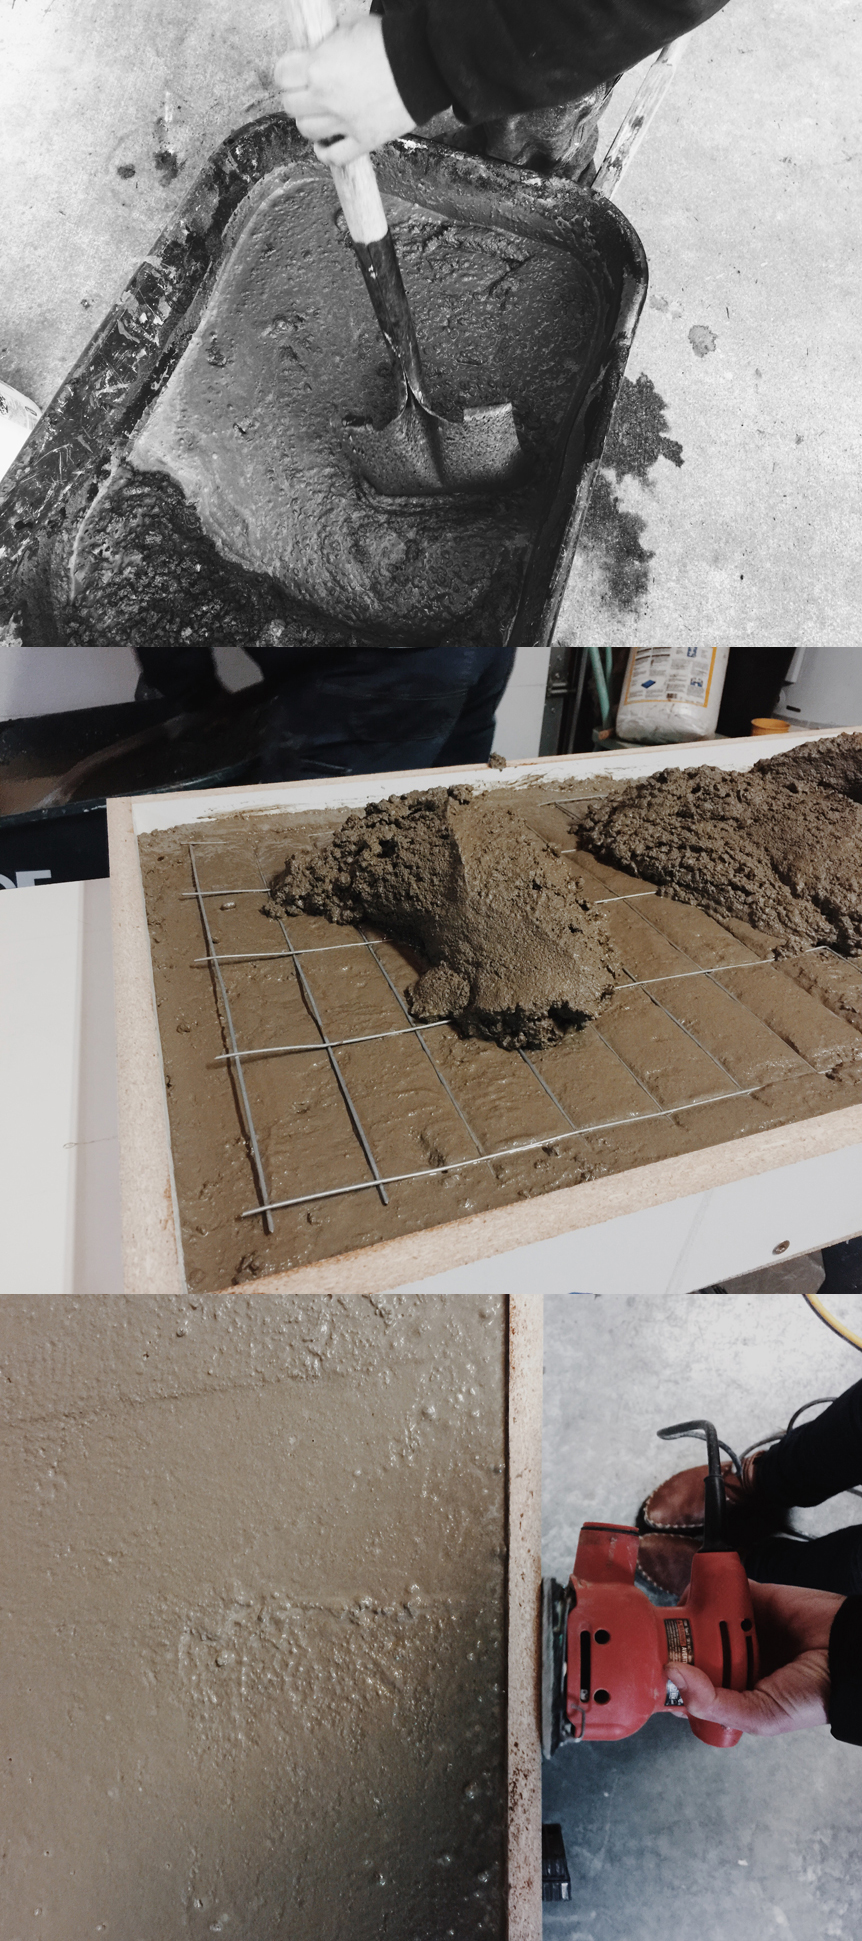 Sean and I got our first experience with making a concrete countertop for our little kitchenette. Sean watched a lot of YouTube videos. He built the frame out of melamine, caulked the seams with silicone and then poured the concrete. We used Quikrete concrete and sealed them with Cheng’s concrete countertop sealer I love how they turned out. Hopefully we’ve worked out all the kinks for when we do our main kitchen counters 🙂 Note to self – spend more time using the sander to work out the air bubbles.
And now for the finished room…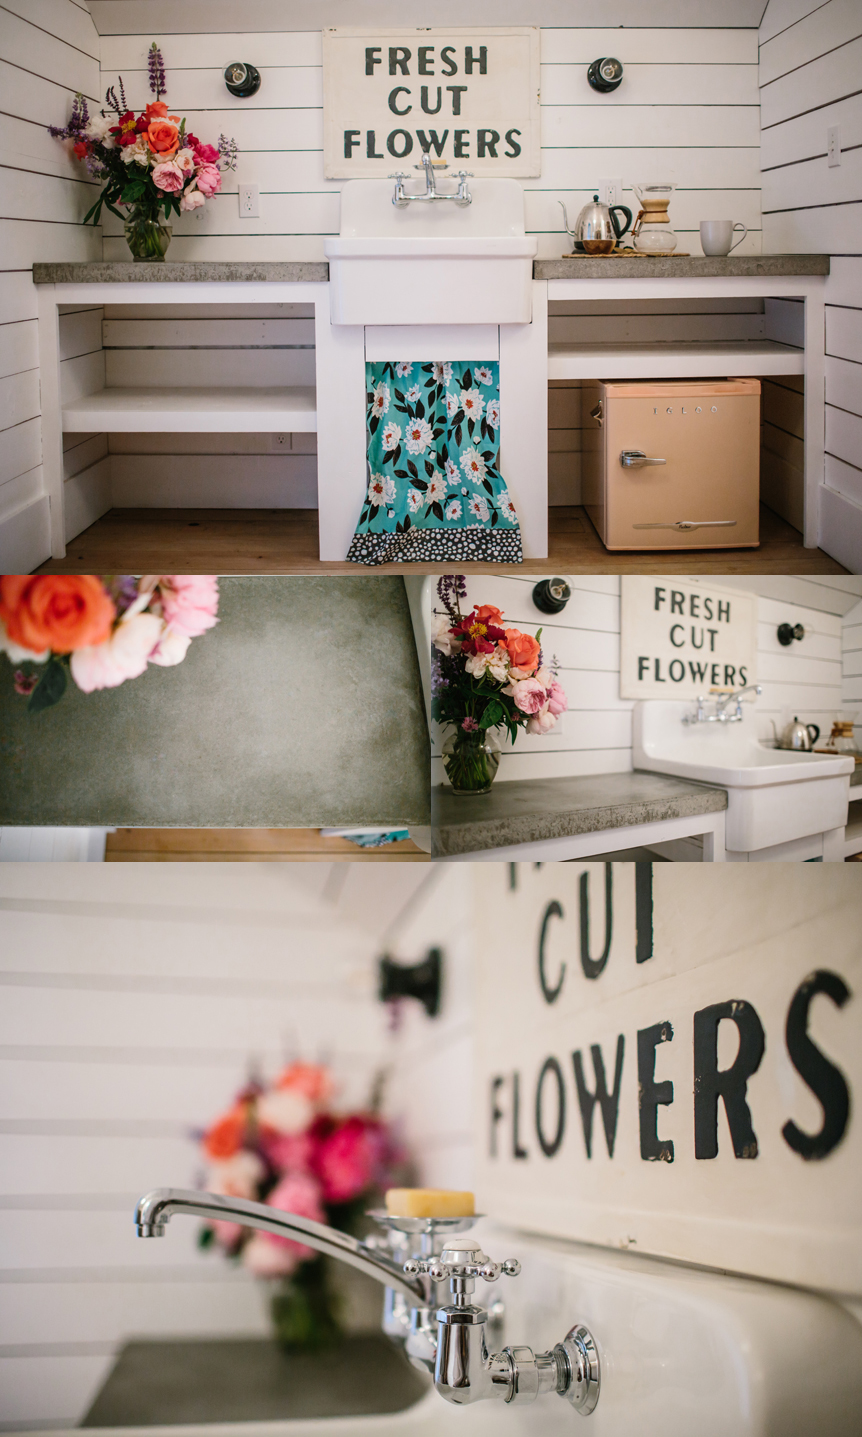 I love our little kitchenette area! One of our main goals for the space was to make it feel like you’re staying in a hotel suite. Saturday mornings, when Sean brings me coffee in bed, I feel like I’m living the dream life 😉 The sink is the Gilford wall mount sink and the faucet is the Antique two handle faucet, both from Kohler. The sconces are the Alabax small sconce from Schoolhouse Electric, the mini fridge is from Urban Outfitters.
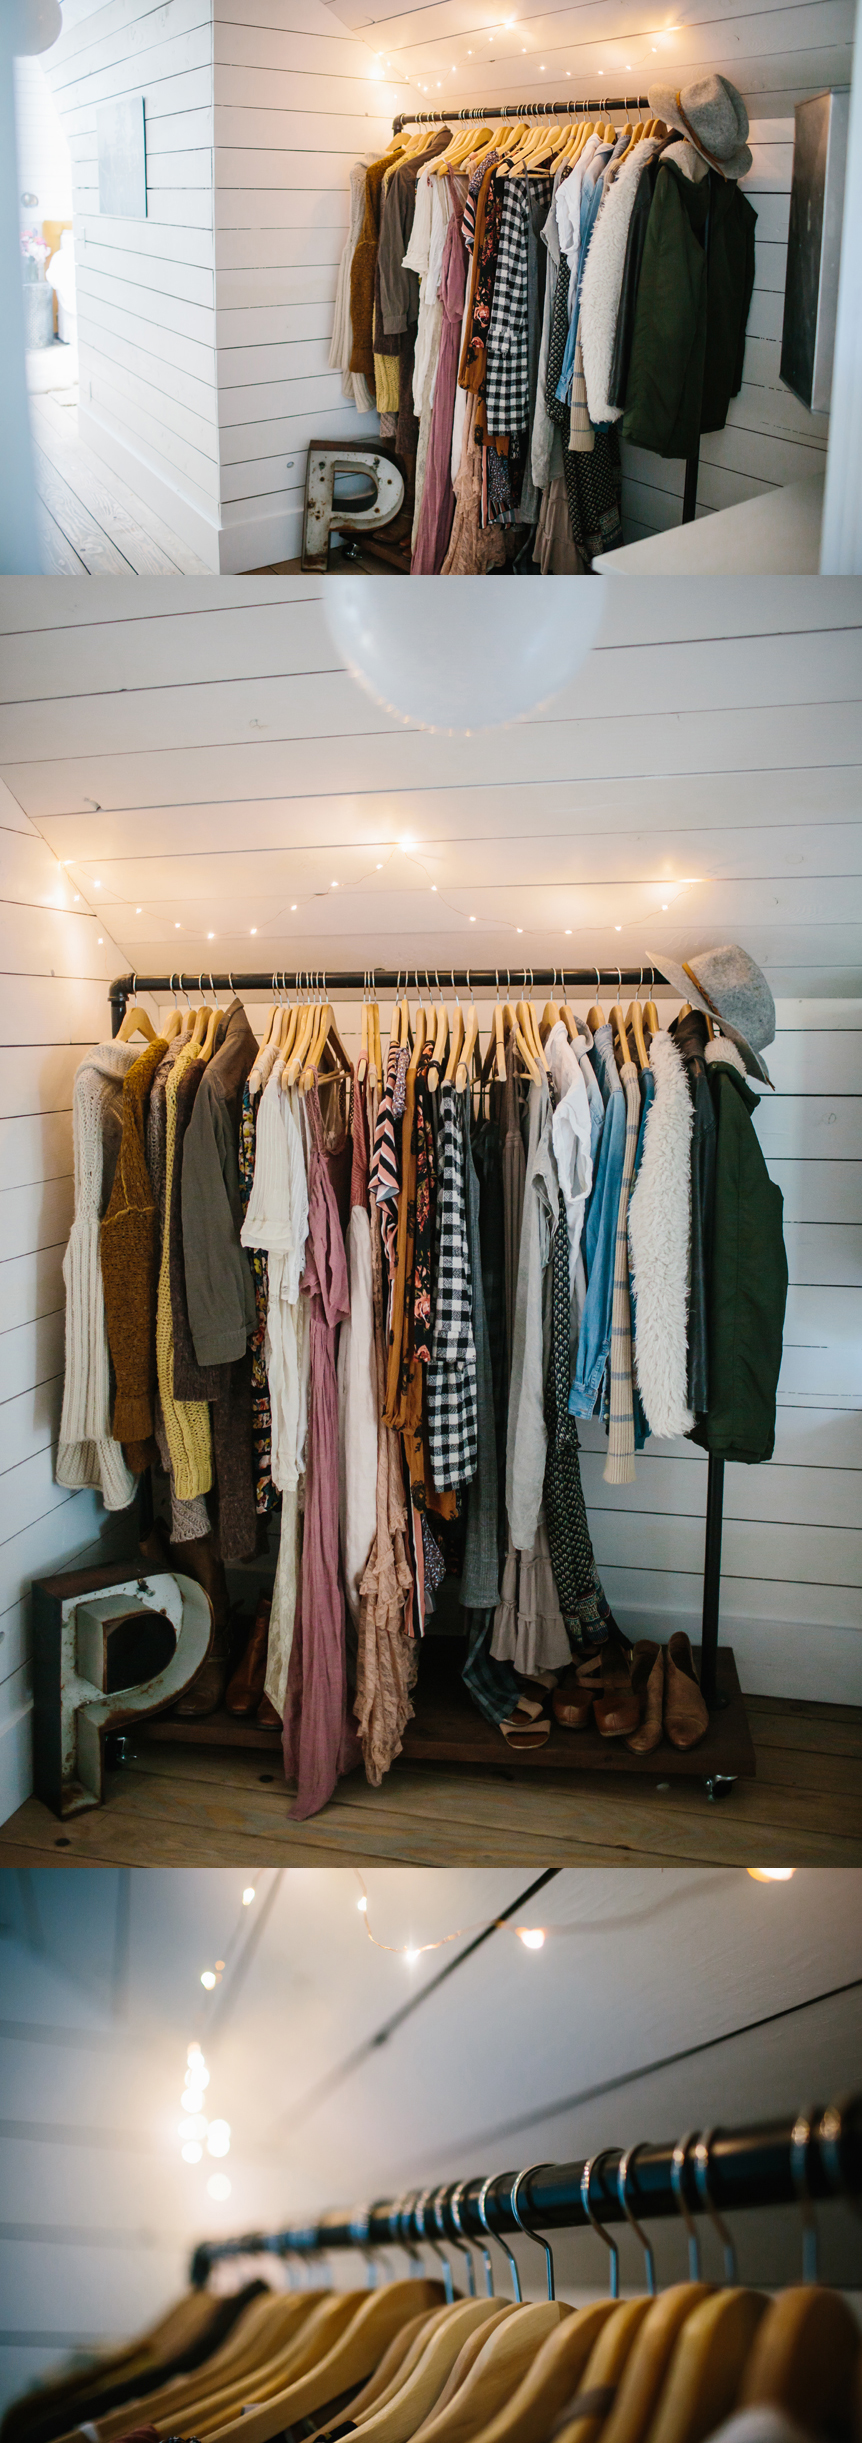 One of the challenges in the space was storage. Sean was able to create a couple closets, and we originally thought we were going to create a larger closet here to the right when you first walk into the space, but then I thought creating a cool clothes rack would be a better idea to keep the space open. So again, Sean praised my many, many great ideas, and made this amazing rack from scratch.;) We used 2×10″cedar boards for the base. We found all the galvanized piping and castors from our local hardware store and then when it was finished being built, I spray painted all the piping black and wa-la! the most amazing clothes rack ever.

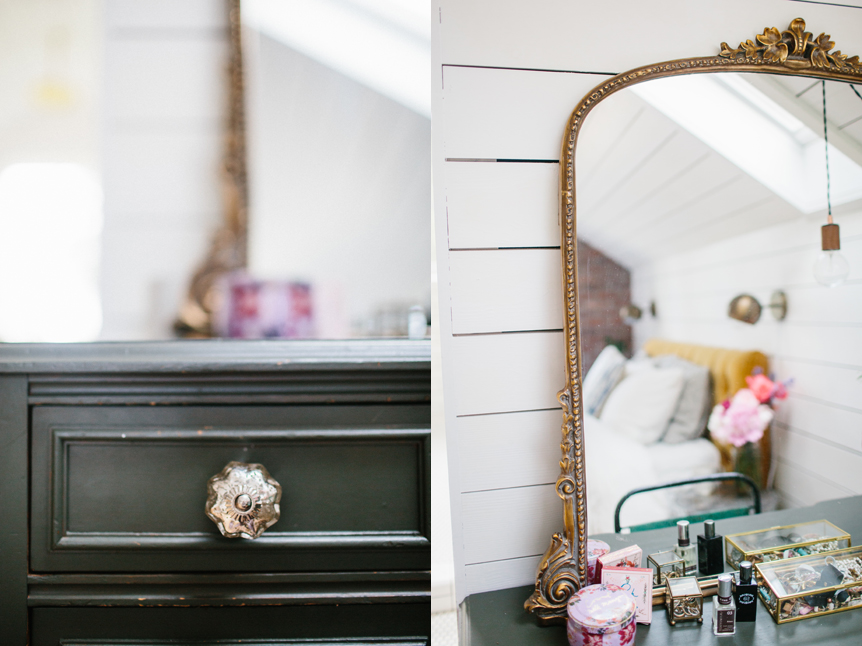 From the very beginning I envisioned a row of globe lights going down the hallway. I found the perfect ones from West Elm. We got our barn door hardware from Amazon and the door I found at a local building salvage store. I scored big time when I found the vanity at a local consignment shop. I painted it with Benjamin Moore’s Tuscany Green and added new hardware from Anthropologie. Once I found the vanity, I knew the exact mirror I wanted to place on top – the Gleaming Primrose mirror from Anthro. It’s gorgeous. The light above my vanity is the Wood Veneer Pendant Lamp from One Forty Three. The bedroom light is the Wesco Cord Hung Pendant from Barn Light Electric. My bedside table is the Metal Pedestal from Magnolia and our bedside sconces are the Eyeball Sconce in bronze from Urban Outfitters.

We got a ConvectAir heater for the space. It was great during the colder months. Since the room is above our unfinished garage, we knew we needed a good source of heat and it did the job. My nephew made a cool side table/bench to go above and help disguise it. He found an old piece of wood and then attached the hairpin legs I got from DIY Hairpin Legs. He also made my amazing bath tray, so if you’re in the market you can check him out HERE. For our window trim and baseboards, we used pine boards. I believe we used 4″ for the window and door trim and 8″ for the baseboards.
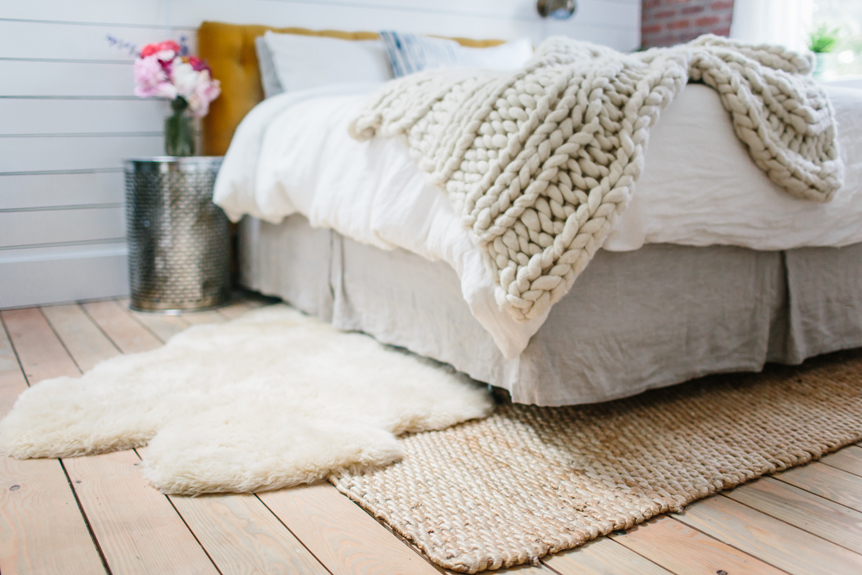 My linen bedding is from Target. I shopped around for good quality linen bedding, but I wasn’t ready to commit to the ones that were hundreds of dollars, so I thought I’d give Target’s a try and I couldn’t be happier. The sheets are so soft. I highly recommend them. I found the bedskirt on sale from Restoration Hardware. The amazing hand knit throw on the foot of my bed is from Colorwaysgallery. The jute rug is called the Natura Handspun Jute rug from RugsUSA and I love it. I was nervous it would be scratchy, but it’s actually so soft! The sheepskin I got from Costco. There’s nothing better than getting out of bed in the morning and stepping on all that soft goodness.
Now lets move on to the best part of the whole space – the bathroom. I had the amazing opportunity to team up with Kohler on creating a bathroom of my dreams. I cannot speak highly enough of Kohler’s amazing customer service and the quality of their products. I literally have a bathroom of my dreams. I’m so thankful they saw my vision and helped me create it. 

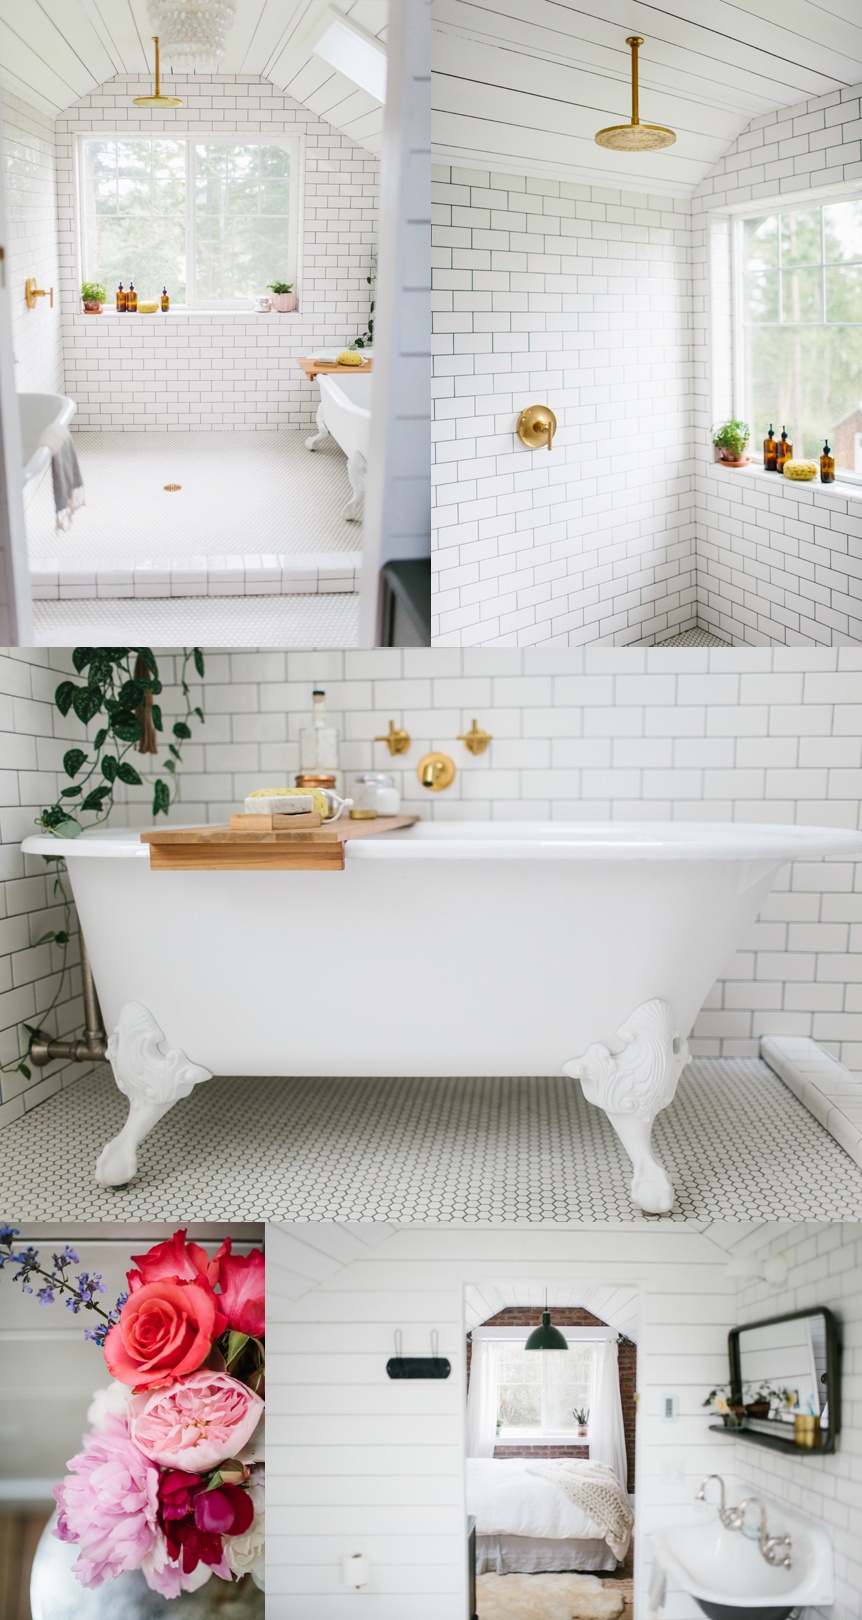 In the bathroom we have Kohler’s Memoirs Toilet, 3′ Brockway sink, 10″ Contemporary round rain showerhead paired with the Purist lever handle, both in their vibrant moderne brushed gold, the Purist bath spout with the Purist wall mount cross handles , and my most favorite thing of all in the space, the IronWorks Historic freestanding bathtub. I can honestly say I would not change a thing about the space.
A lot of people ask if it’s cold, seeing that it’s an open shower plan, and truthfully, no, it’s not and that’s because of the in-floor heating. The tiles are always warm. I could stand in the shower for hours – no goosebumps. Another question people have is about the window and if it makes us nervous. Our property is very private and surrounded by trees. I mean, maybe the chickens can see us up there, but I doubt it 😉 and honestly, the window steams up in a matter of seconds so no free shows down below. ha! The last question I get asked a lot is if I’m OK with the lack of storage/counter space in the room. I do not miss having a counter in the bathroom at all. The vanity stores everything we need. I feel like the bathroom stays 1000 times cleaner without the counter space (praise hands). That’s part of the reason why I chose the pharmacy style mirror (which I got from Amazon) to go above the sink. I can keep our toothbrushes and toothpaste on the shelf and everything else is stored in the vanity.
 I think the whole process took us around 7 months from start to finish. This was way longer than we expected, but the end result was definitely worth the wait. I’m so excited to enjoy this space for years and years to come, and when we’re too old to climb the stairs to our beautiful new suite, we’ll just kick Stella out of our old room. 😉
And now on to the video…I had a different idea for the video tour and it involved renting a wide angle lens and using my big camera, but that didn’t happen because, well, that might have taken another 5 months 😉 So instead of skipping the video altogether, Ava happily volunteered to give the tour while I used my iPhone. I gave her no direction, only to show of the space. It’s short and sweet, but you get the idea.


twitter
pinterest
email