


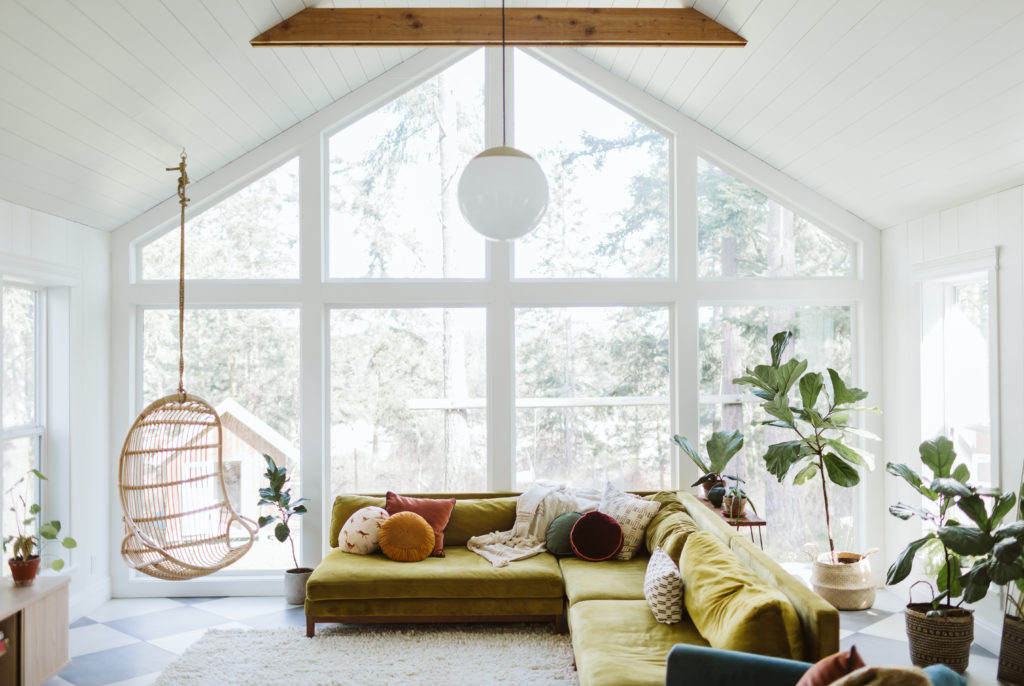
When we were originally designing this room I always pictured a swinging chair in that corner there by the windows. When I saw this chair from Serena&Lily I knew it would be the perfect one for the space. The natural rattan is the perfect color, and it blends in so nicely with the rest of the furniture. Choosing one with amazing quality was very important to me and I’m definitely not disappointed. This chair is extremely well made and I know it is going to survive the test of time and people. I’m going to be really honest, I now think I need one, or maybe two more, to hang out by our outdoor fireplace under the pergola. Good idea, right? Yeah, I think so too.
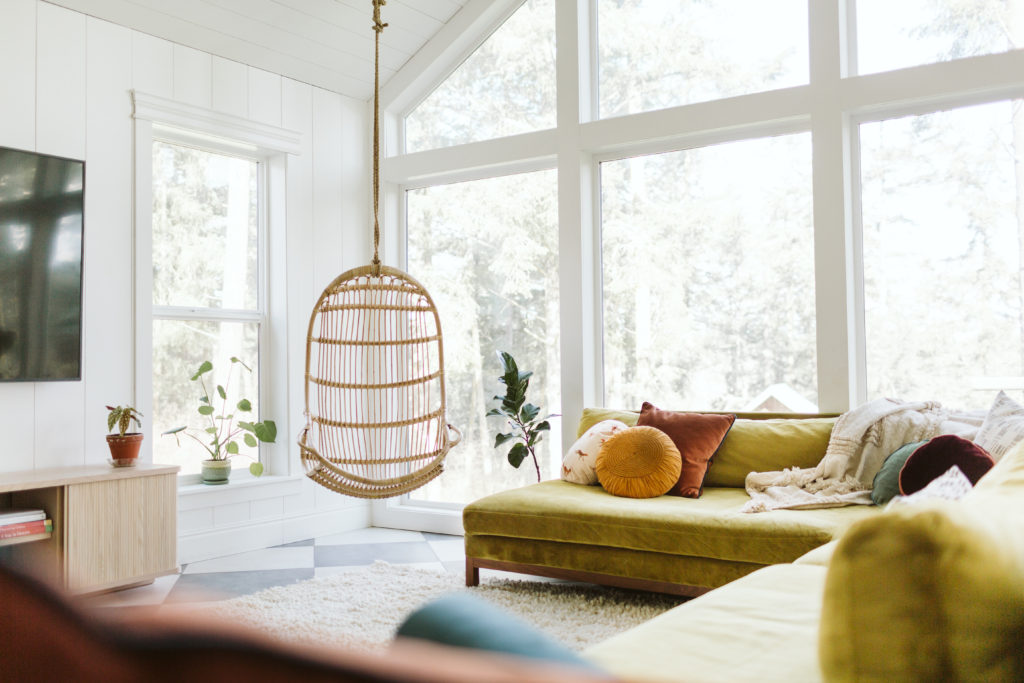

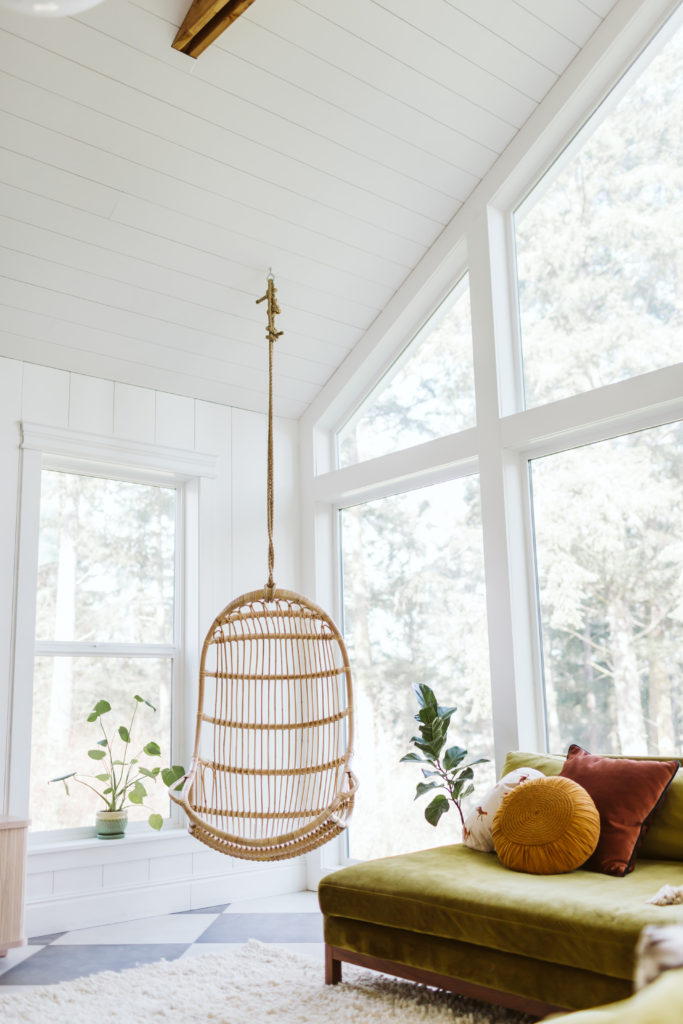
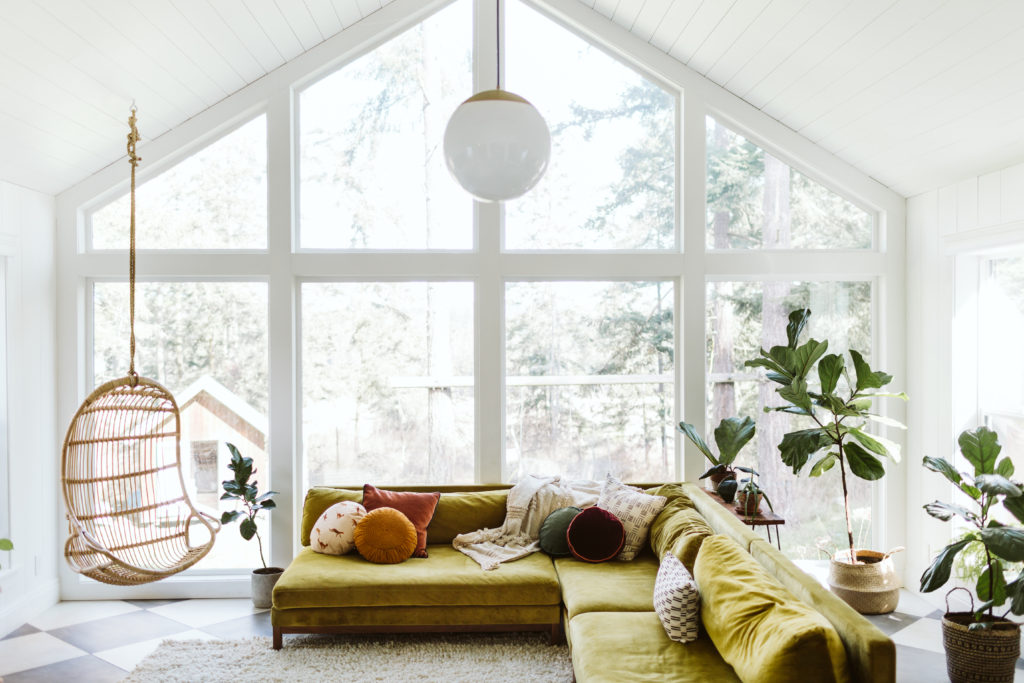
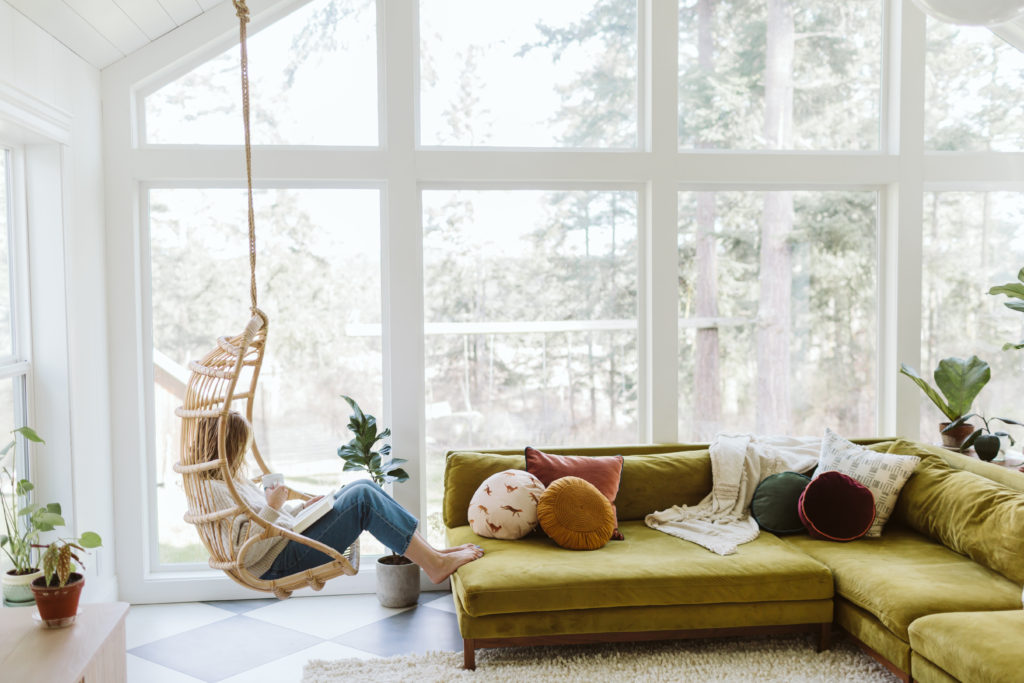
This chair adds just the right amount of fun to the space. It was super easy to hang. Although, I think we might replace the bolt we used for a swivel one instead. I told Sean now we really need to clear down below on our property so we can have an even better view of the valley, because sitting in the swing and looking outside is a new favorite past time of mine. If you’ve been looking for a swinging chair, I can’t recommend this Serena&Lily hanging rattan chair enough! I think adding a touch of whimsical to a space truly brings the room to the next level.


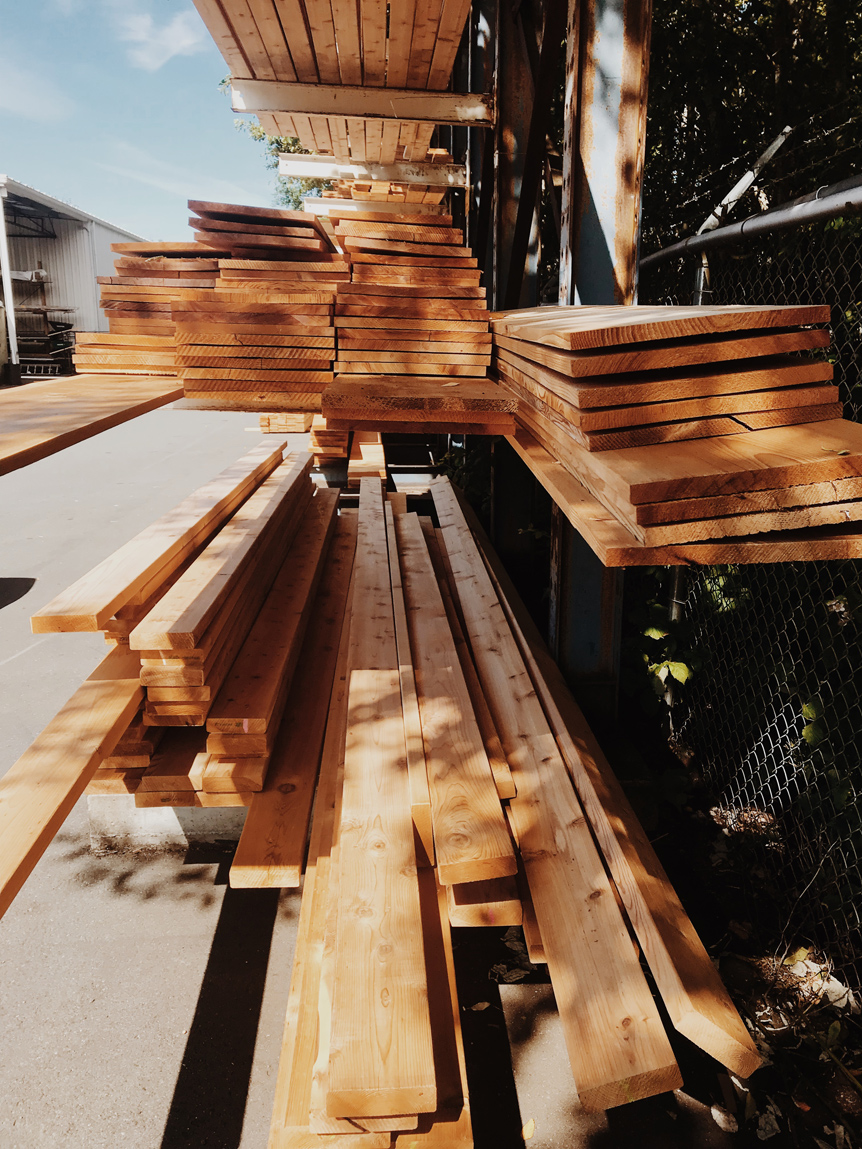 So to the lumber store we went. We opted to go with cedar 5/4 decking in a tight knot, vs the typical 2×4 because it was like half the price. I think the total we spent was just shy of $260 and that included the 230ft of wood, wood glue and a 5lb tub of screws.
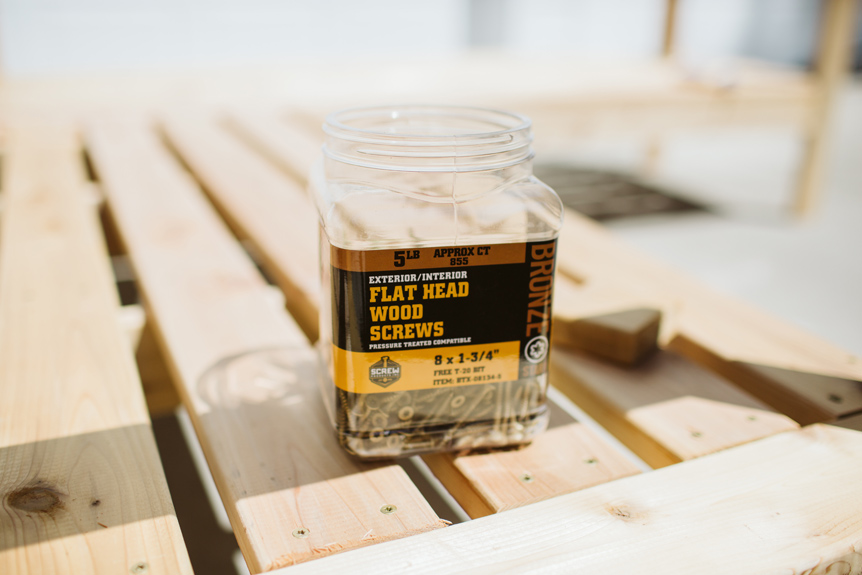 And keep in mind, we paid “island prices” so for those of you wanting to make this and don’t live here, you could probably get away with paying like half of that. hashtag- first world ‘island’ problems.
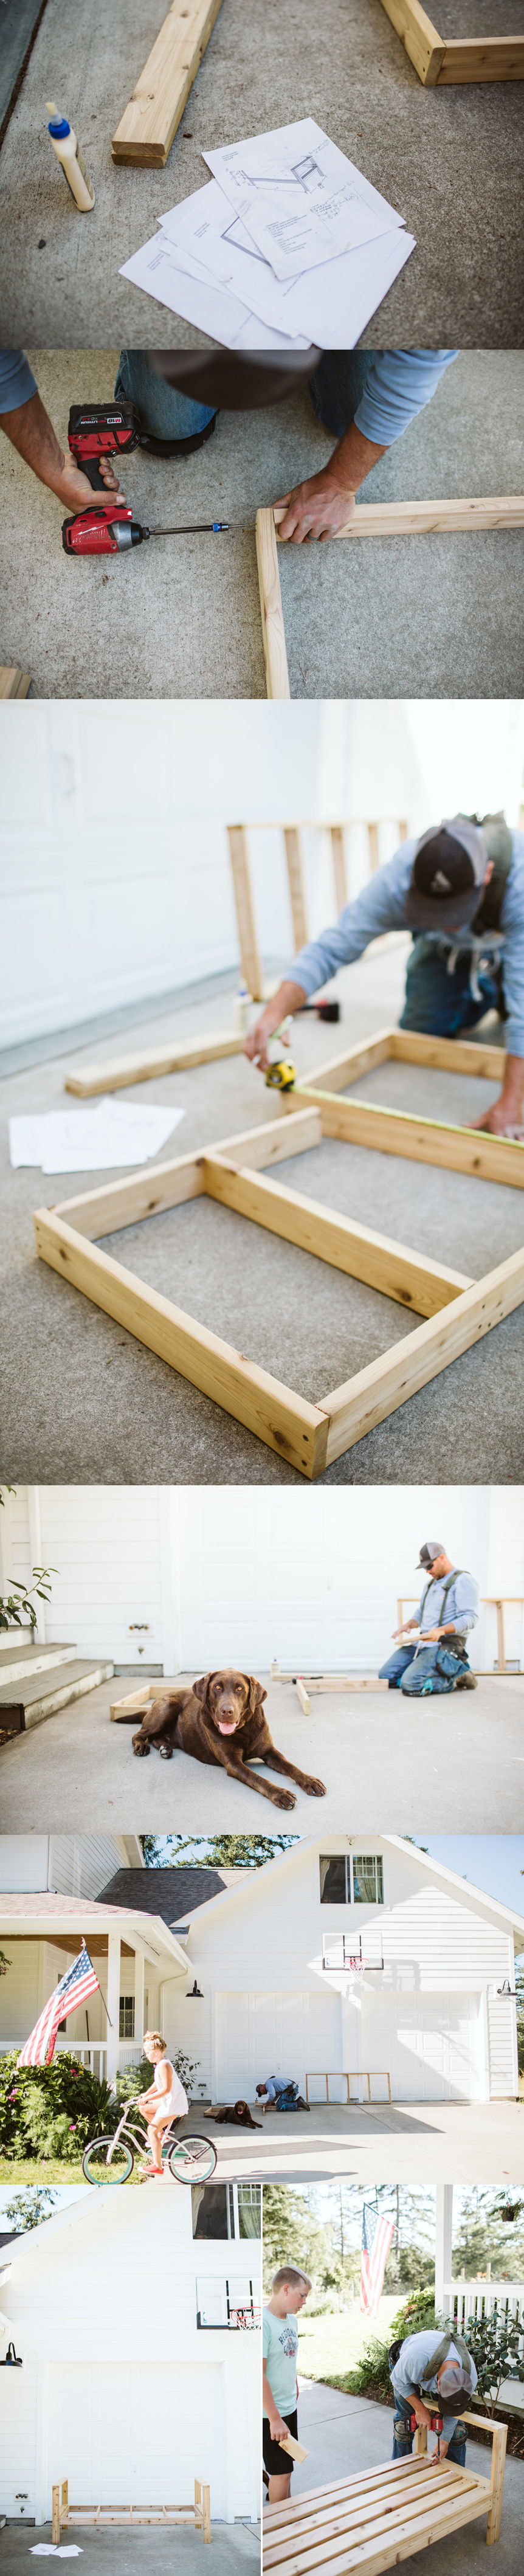 The couch is built in two separate pieces – first the main couch and then you add on the sectional.
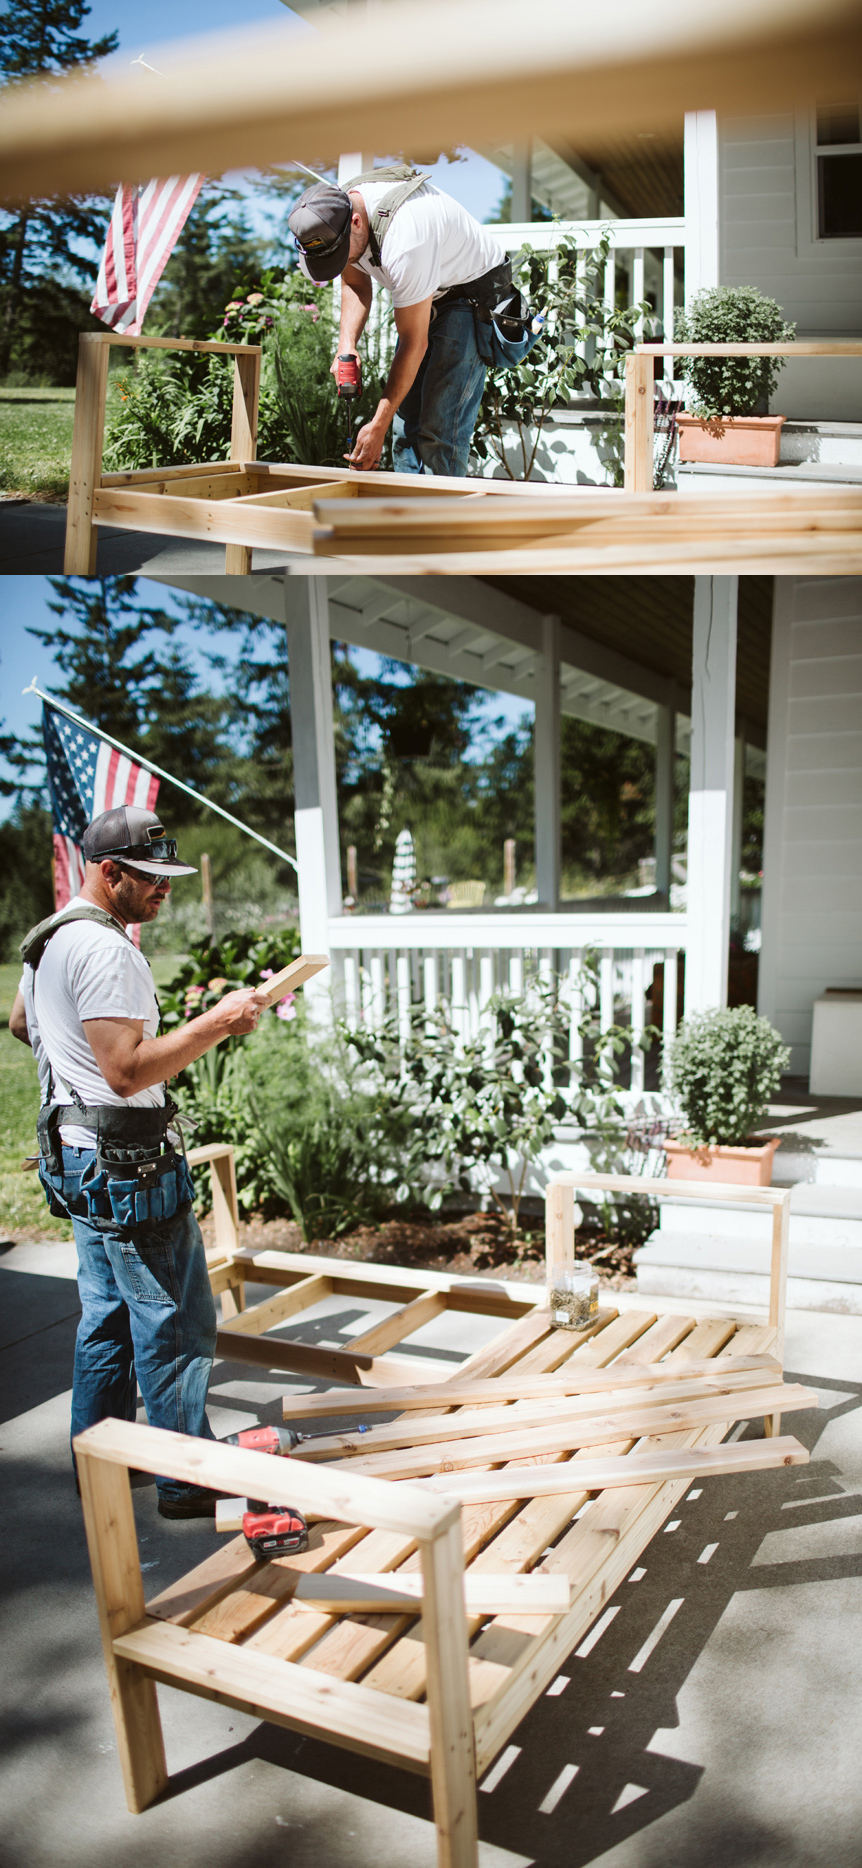 Technically we could one day put an arm on the end of the smaller piece and have ourselves a couch and loveseat, but for now we’ll just leave it as a sectional…but I do kind of like that idea. Ana White also has plans for a matching outdoor chair and coffee table. Sean, just think of all the things we’re gonna make 😉
 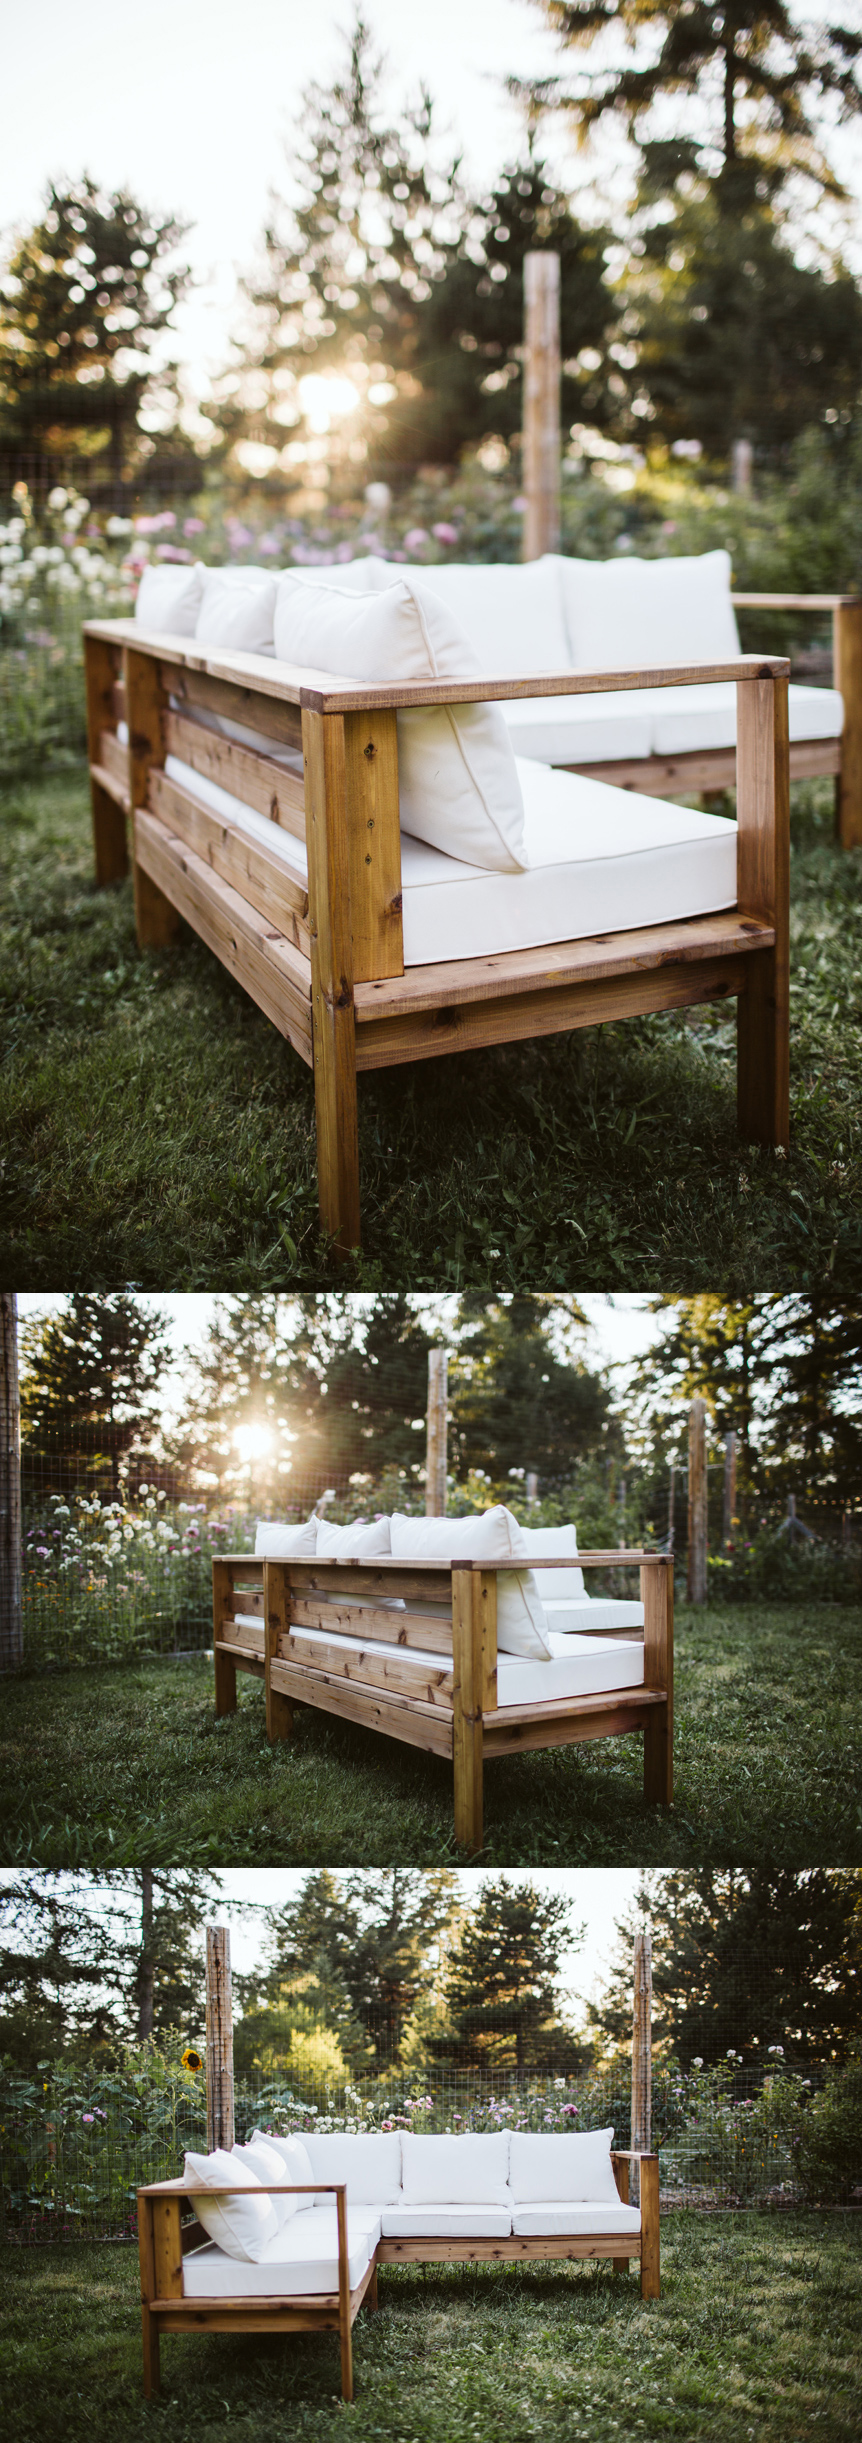 I’m so happy with how everything turned out. I stained the couch with a Minwax brand stain called Special Walnut and I love how it looks against the white cushions. I knew I wanted good quality cushions where the fabric was removable and washable because – hi, I live in Washington and I have a big brown dog named Pedro. I’m so thankful to have had the opportunity to team up with
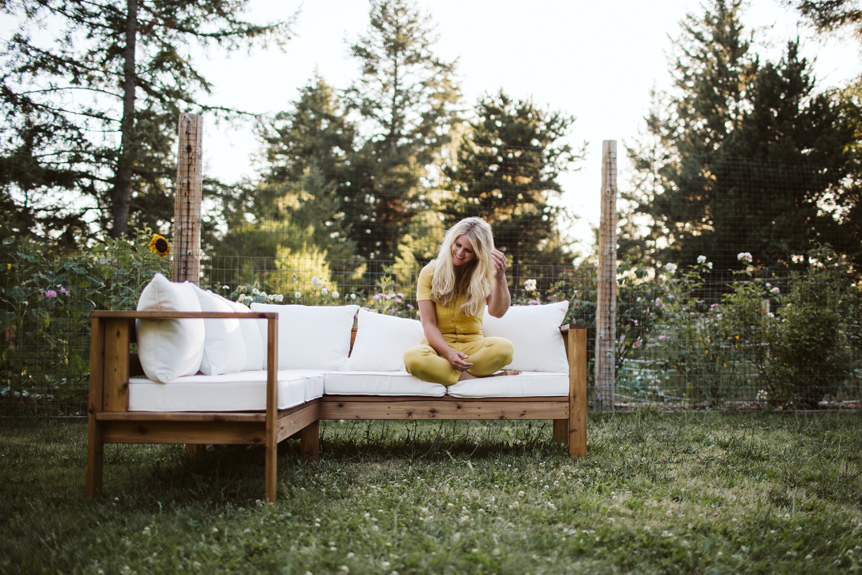
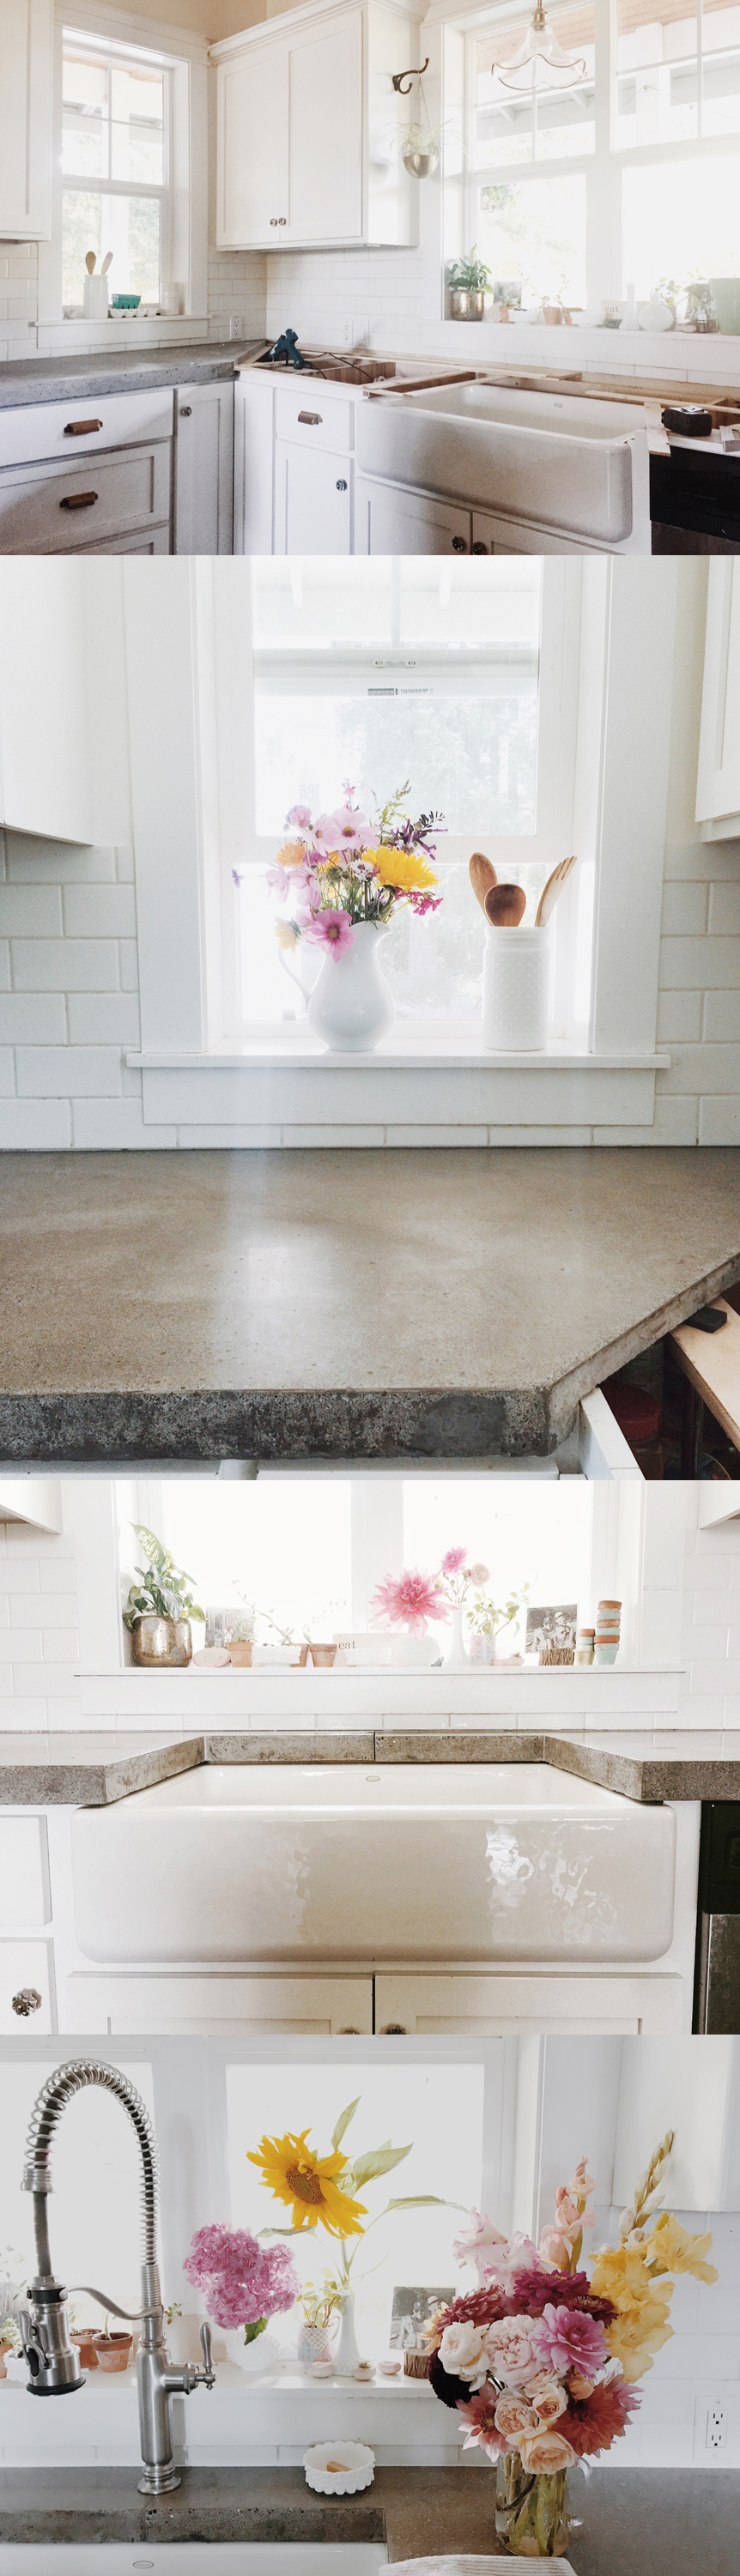 Since we updated the counters it meant we’d need a new kitchen sink and faucet. I had the amazing opportunity to partner with
 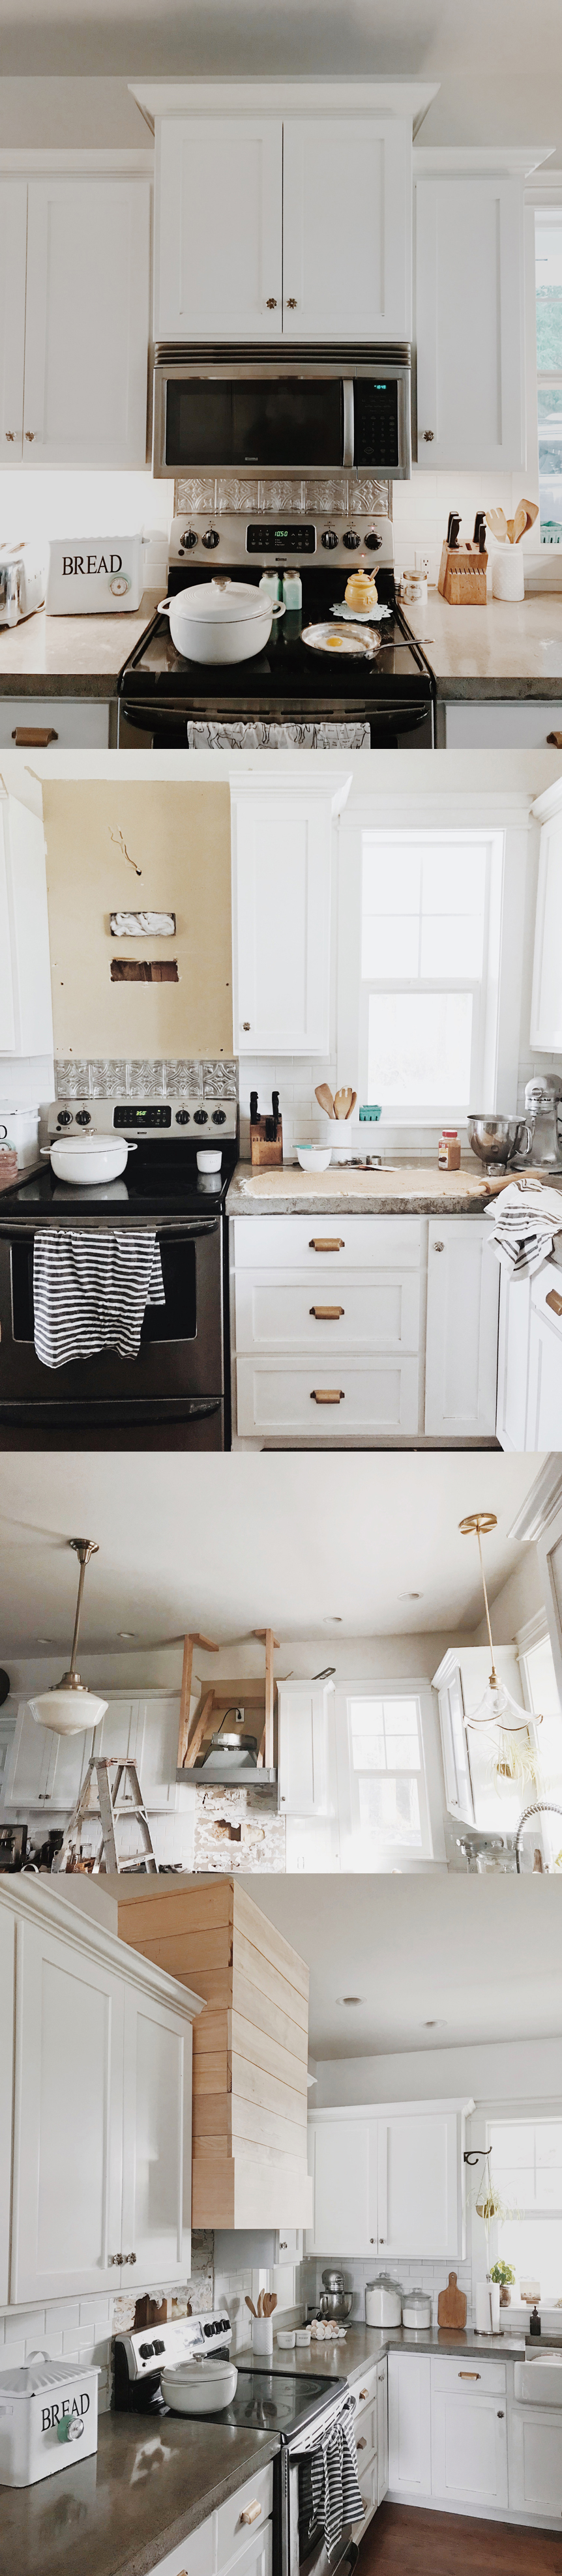 Sean made the hood out of 1×6″ hemlock and a 1×10″ piece around the edge and we found the hood fan from Amazon. We went with the

twitter
pinterest
email